Using Nessus to find and fix vulnerabilities on VM.
Today I'm going over how I set up Azure Sentinel to show failed access attempts to a virtual machine, and where they are coming from.
Step 1: Install software.


- I started out by downloadingy/installing the following software:
- -VMware Download VMware Workstation Player | VMware
- -Nessus Nessus Essentials Vulnerability Scanner | Tenable®
- Next I downloaded the windows 10 installation media and created a .iso file through it. (Download Windows 10 (microsoft.com)
- I opened VMware and selected "Create a New Virtual Machine."
- I then selected the .iso file that i created from the windows 10 installation media.

- I used default options until i got to the hardware section. I selected customize hardware. Under "Network Adapter" I selected "Bridged."
- I then closed the "Customize Hardware" tab, and selected "Finish" on the wizard.
- Next I started the VM and set up windows on it, using the free trial and default settings.

Step 3: Disable firewall on VM and make sure Vm can be reached.
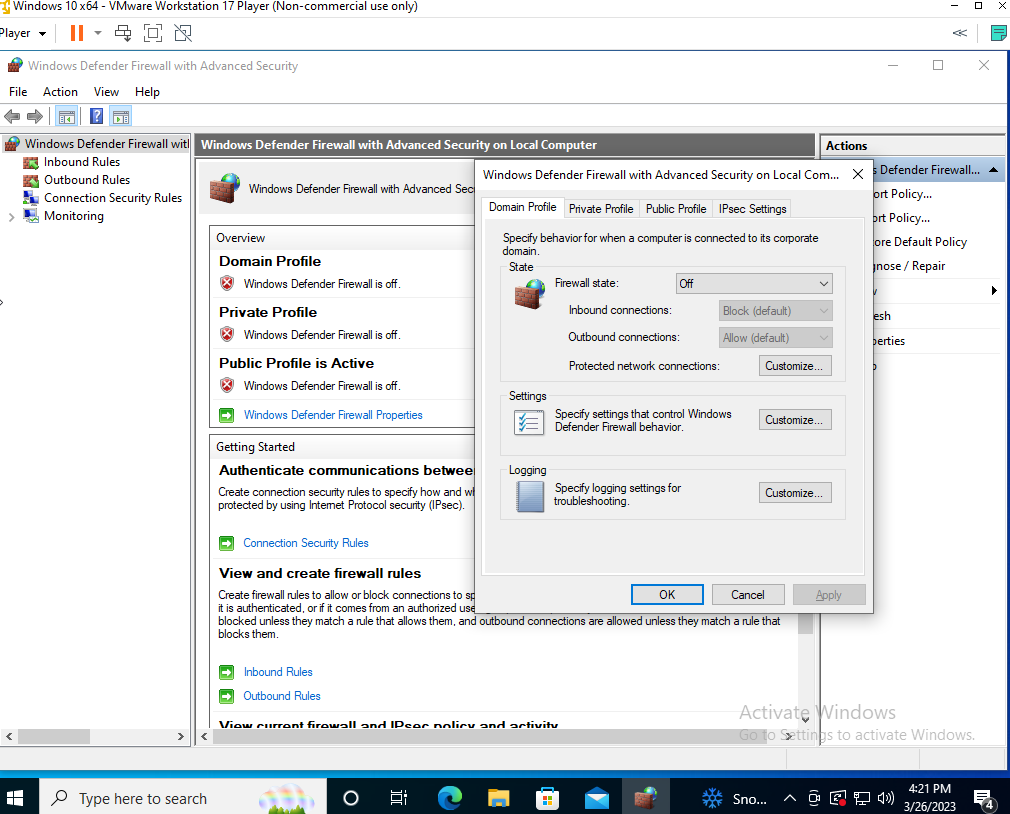
- After the VM was up and running I searched wf.msc and opened the firewall settings.
- Once open, I selected "Windows Defender Firewall Properties," and under the Domain, Private and Profile tabs, I changed the Firewall state to "Off:"
- Next I opened command prompt, in the VM, and ran "ipconfig" to find the ip address of the VM.
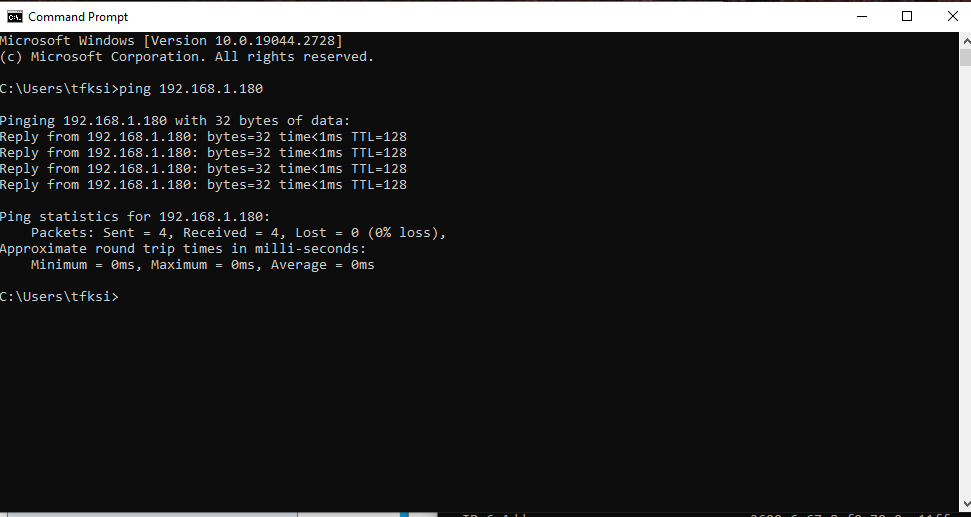
- I then opened command prompt on the host machine and tried to ping the VM by running "ping {VM Ip address}."
- Now that I know my host machine can reach the VM, I can move on to the next step.
Step 4: Set up basic scan from Nessus.
- After Logging into Nessus, on the dashboard, I selected "+ New Scan."
- To set up the credentialed scan, I went back to the Nessus dashboard and created a new scan just like last time. I selected the basic scan again, as well. I titled this scan "Credentialed scan" and entered the target IP address, same as last time.
Step 6: Check results/fix Vulnerabilities.
- After the scan completed, I opened the results.
- To see the details, I selected the vulnerabilities tab.
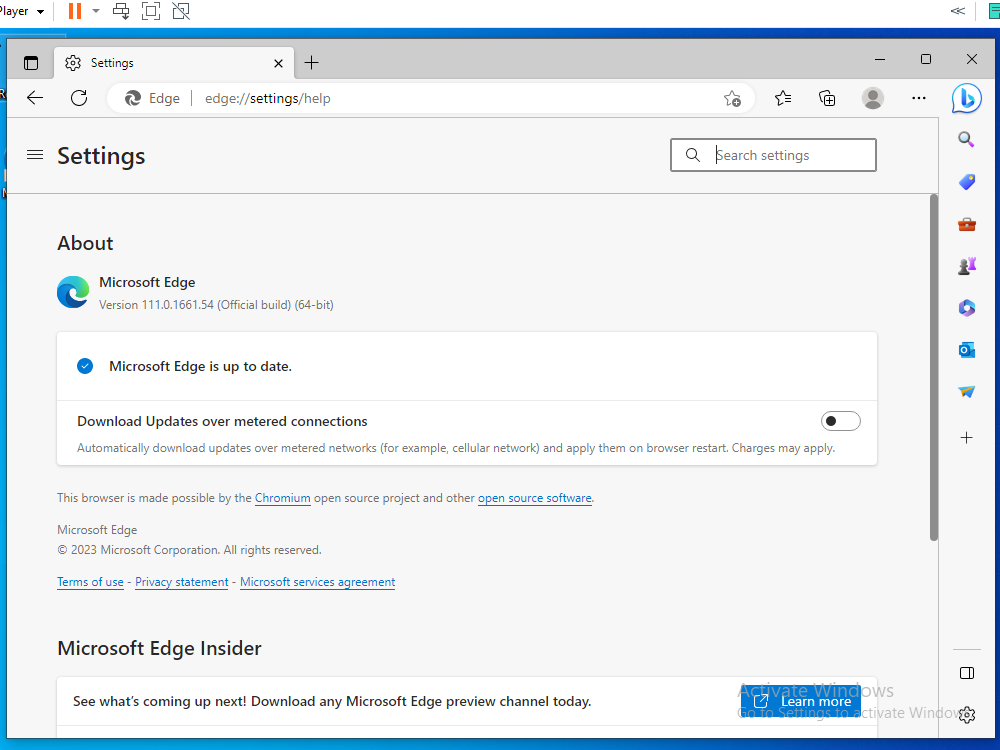
- Now that Microsoft Edge is updated to a version past the one specified in the scan, I ran the scan again to make sure that the vulnerability no longer exists.
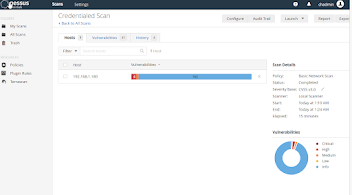
- After clearing the rest of the vulnerabilities (which encluded things like: updating 3D viewer, updating windows, requiring signing while using smb, disabling internet explorer, etc) these were the results:


Comments
Post a Comment